
Sometimes your Falcon Trading Laptop will not power on. One step in the process to resolve this issue is to remove all power sources for 30 seconds. This involves unplugging the laptop from AC power and removing the battery.
Falcon laptops purchased or received after March 2022 do not have a battery that can easily be removed. Instead the bottom panel of the laptop has to be removed to gain access to the battery and disconnect it from the motherboard. This guide will take you through the process.
The video at the end demonstrates the process, but we suggest reading the guide as there are notes for maintaining the laptop’s safety.
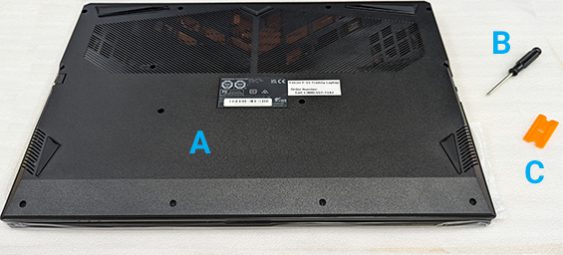
For this process we need the laptop (A in Figure 1), a philips head screwdriver (B), and a plastic razor blade (C). These are included with most laptops we ship. If you do not have them, they can be purchased online or at a local hardware store.
1) Lay out a towel or something on a flat surface; this will protect the lid of the laptop. Place the laptop, top down, on the towel.
- Identify all 13 screw locations.
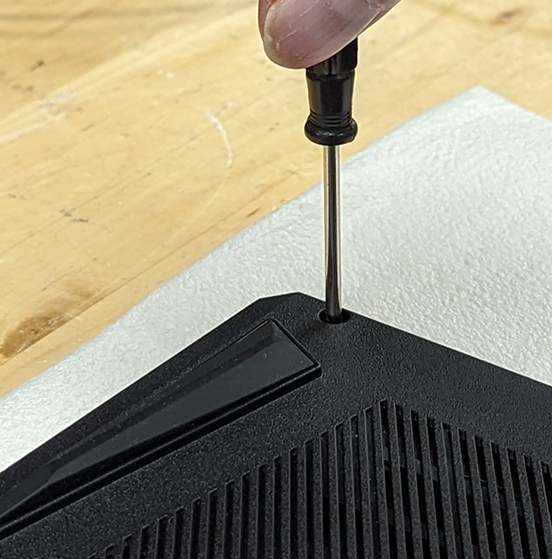
2) Loosen all screws. If they come out during the process, set them aside in a safe area.
Laptop screws are small and easy to lose. It’s not critical if one is lost.
Before proceeding… wash hands and dry thoroughly, removing rings and jewelry. Touching the wrong place with metal will cause serious damage

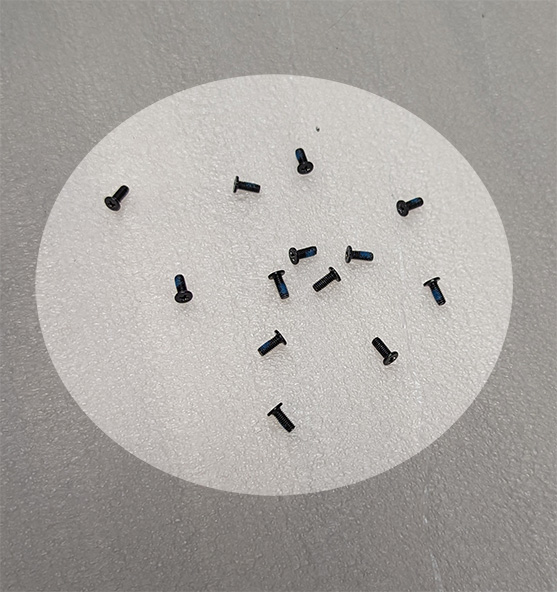
3) Turn over laptop to let screws fall out. Shake it a little to help them. Collect them and set them aside. Place the laptop, top down, on the towel.
4) Find crease between top and bottom pieces of laptop case. Slide plastic razor along crease, applying pressure to separate the two pieces. See Figure 4.

5) Lever apart the top and bottom of the laptop case. Lift to separate. See Figures 5 and 6.
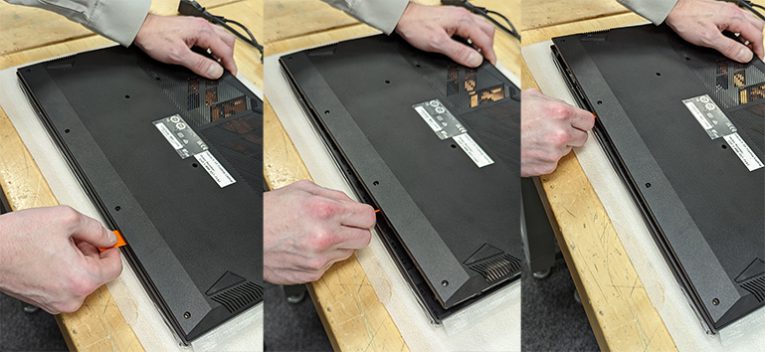
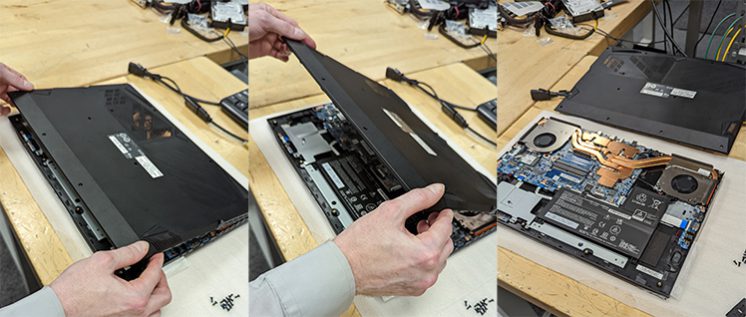 Figure 6: Lift bottom piece from front until free of top piece. Set aside.
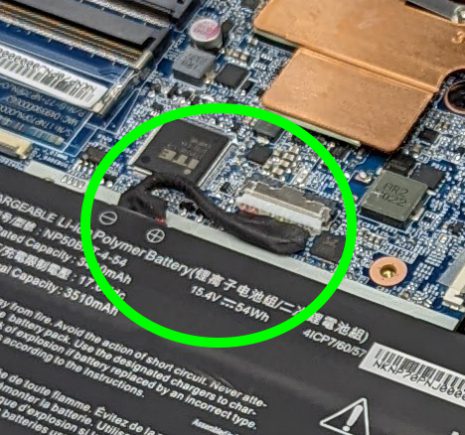
6) Disconnect the battery from the laptops motherboard.
Identify the cable connecting the two (see Figure 7).
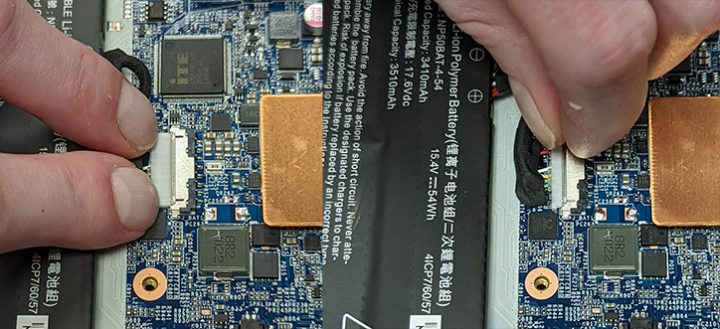
Place fingers on either side of connector, using raised lip on either side for grip, the pull connector free of metal port. (see Figure 8).

Wait 30 seconds before proceeding.
7) Again using two fingers, line up the connector with the port so that you can push it straight in. Squeeze connector and port together to ensure cable is fully inserted. See Figure 9.
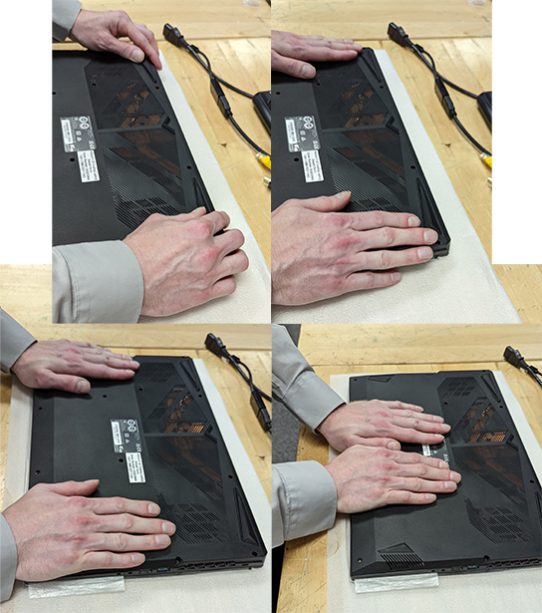
8) Replace the bottom chassis.
Line up the rear of the case pieces and lower bottom onto top–Figure 6 in reverse order.
Using both hands, press down on rear corners, sides, and front of the laptop to close the case. See Figure 10.
9) Seal laptop with screws.
If you have a non-magnetic screwdriver (like the one we sent), it’s easiest to insert the screws into the holes before tightening them.
Finger tightness is all that is needed.
See video below for demonstration of the entire process.