1. Home
  2. Errors and Troubleshooting
  3. Blank Screen after Windows 10 Performed Update

Blank Screen after Windows 10 Performed Update

Hello Falcon Owners!  Well…Microsoft and Nvidia have done it again and pushed out another bad update! Luckily we have a way to fix this error and get you back up and running. Please follow the steps below.

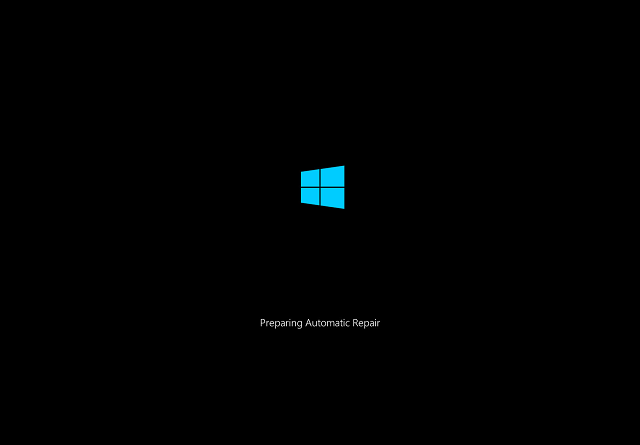
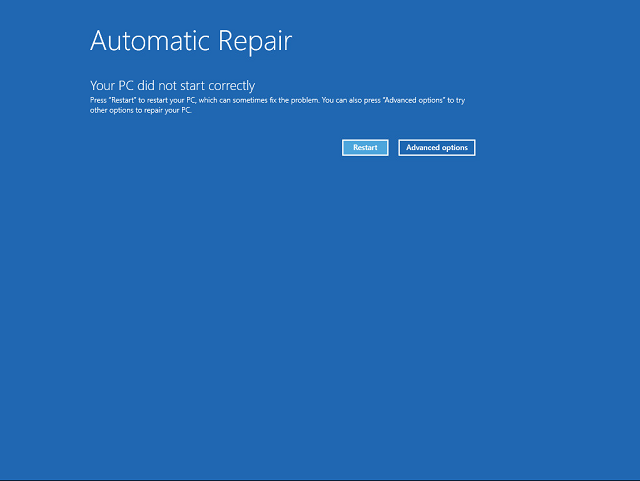
You are most likely getting a screen that looks like the one below, or maybe completely blank.

Step 1
For both methods below you will need to get into the recovery console follow these steps:

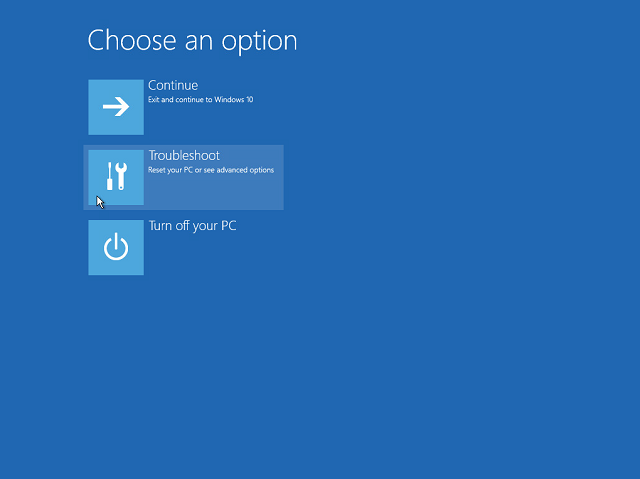
If your Falcon system was shipped after 11/20/2017 just tap quickly on the “F8” key while the system is rebooting and select “Repair Your Computer”, then hit enter. Otherwise you will need to do the manual process which is as follows:

Reboot your computer by holding down the power button until it turns off, then power it on again.  Wait until you get to the little dots circling around a circle.  If you don’t see any text such as “Please Wait”, “Preparing Automatic Repair”, or “Diagnosing your PC”, hold down the power button and shut the machine off. Hit the power button again to start it up. You may need to repeat these steps several times until you get the text (examples of the text are listed above) below the circling dots to show up. We also have a video to watch on how this is done below.

Step 2
Once you get the screen below click on the “Advanced Options” button.

Step 3
Then click on “Troubleshoot“.


Step 4
Then click on “Advance options“.

Method 1Method 2

Method 1

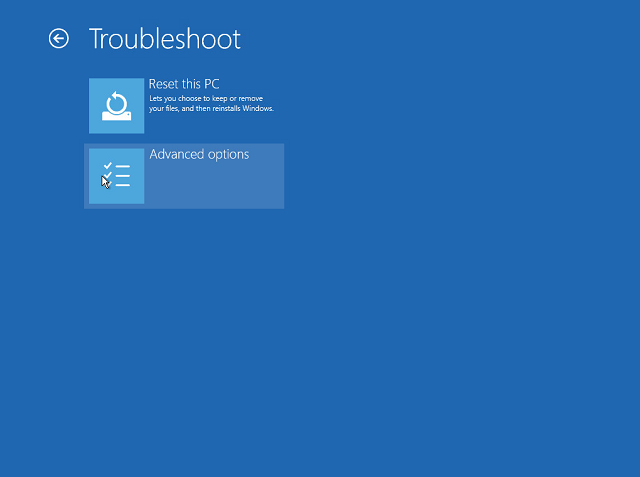
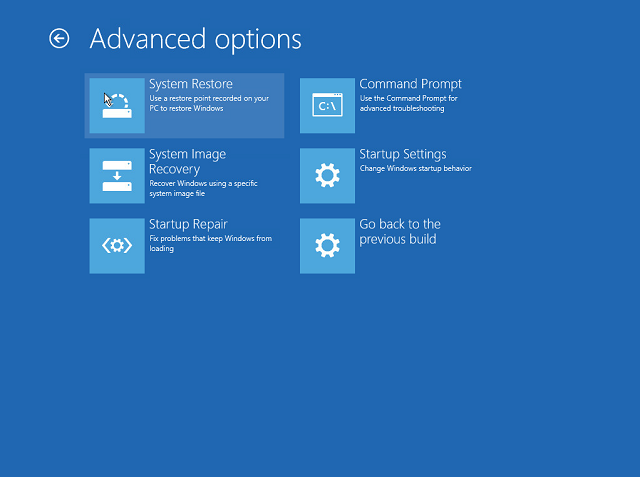
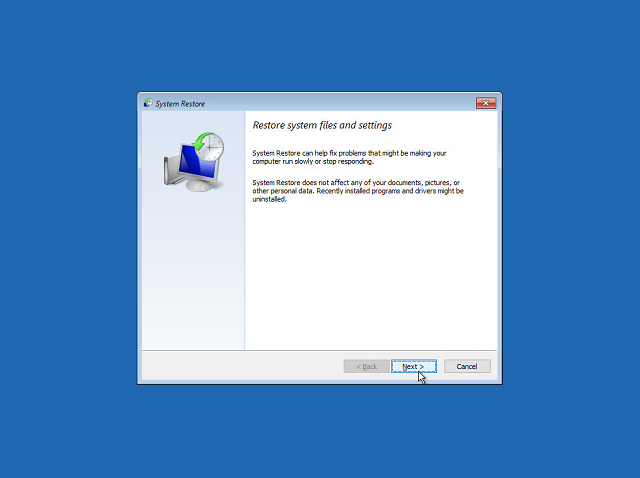
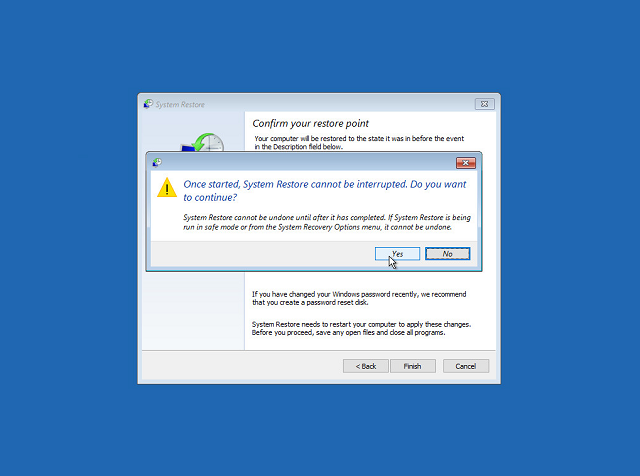
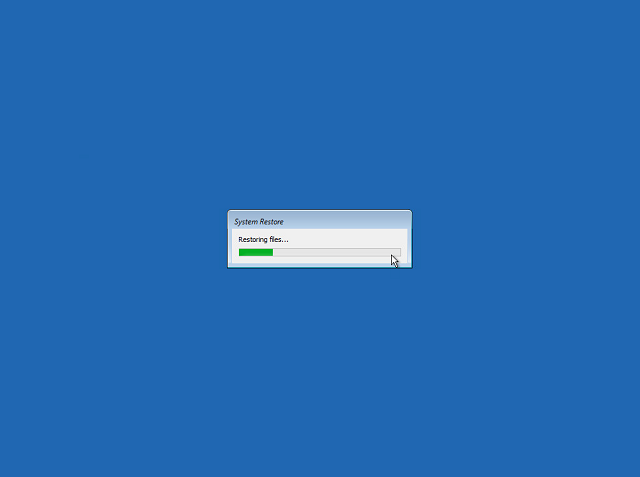
These steps will walk you through a System Restore

Step 1
Now click on “System Restore“.


Step 2
Click “Next“.


Step 3
Now select a restore date a couple days prior to the event. After selecting the restore point click “Next“. (If you don’t have any Restore points listed proceed to Method 2)


Step 4
On the confirmation screen just click “Finish“.


Step 5
Just in case you didn’t read the first screen Microsoft would then like you to reconfirm by clicking “Yes“.


Step 6
This will take a few minutes.


Step 7
Once that is done click “Restart“. (If the System Restore failed still try to proceed, but if you are still getting a black screen proceed to Method 2)


Step 8
Sweet!  Now we just need to do a few more things in Windows to make sure this doesn’t happen again. Click on your start menu then type “cmd” right click and then click “Run as administrator”.


Step 9
Confirm the UAC by clicking “Yes

Step 10
Now this is where the fun begins.  In the command window type: net stop “windows update” as shown below then press the “Enter” key.


Step 11
Now we can clear the update cache by typing: rmdir /S /Q c:\Windows\SoftwareDistribution\Download as shown below then press “Enter“.

Step 12
Type (or copy/paste) the following command:
bcdedit /set {default} bootmenupolicy legacy press “Enter”

Step 13
Awesome! Now to start the windows update service type: net start “windows update” as shown below, then press “Enter”.


Step 14
Next we just want to make sure your System files are in good shape so type: dism /online /cleanup-image /restorehealth as shown below, then press “Enter”.


Step 15
Once that is complete we will just need to issue one more command, I promise! Type: sfc /scannow as shown below then press “Enter”. Then just wait once complete close the Command Prompt.

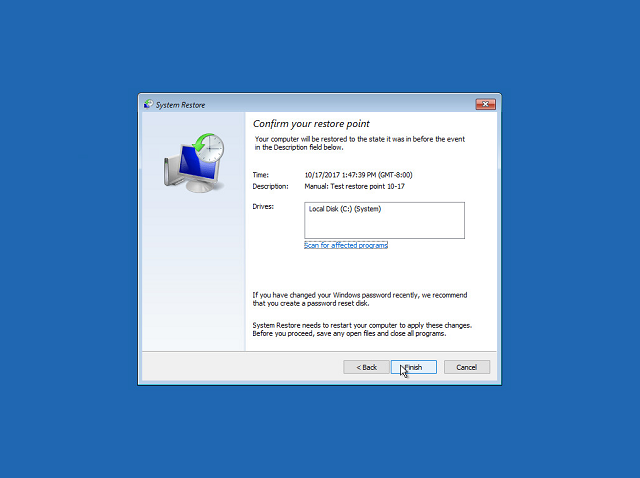
That’s it! Now you are off to higher performance trading on your Falcon.

Method 2

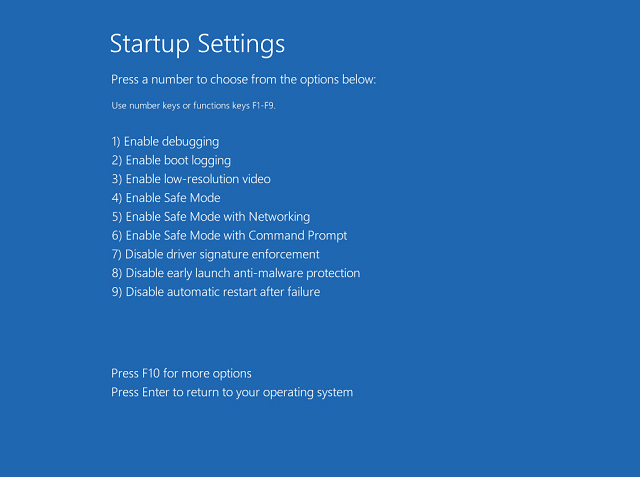
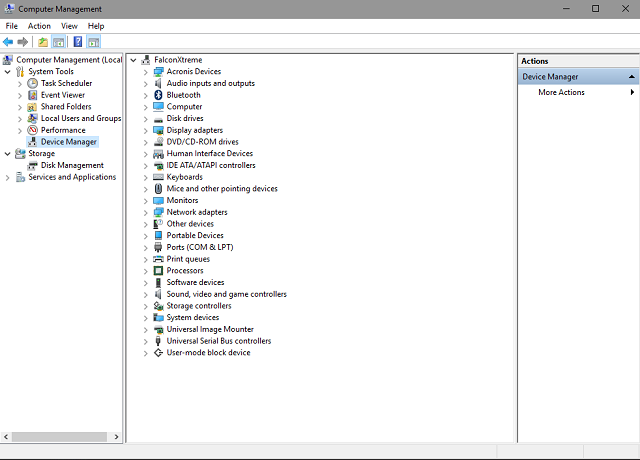
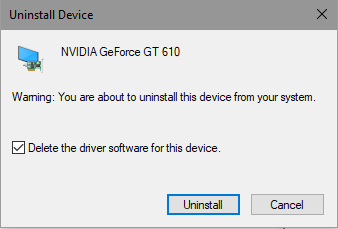
These steps will help you get into safe mode to remove and reinstall your video card drivers

Step 1
Click on “Startup Settings


Step 2
Confirm your choice by clicking on “Restart


Step 3
Once the computer reboots you will see a screen like below press the “5” key on your keyboard to Enable Safe More With Networking


Step 4
Once in Safe mode click on your start menu then type “cmd” right click and then click “Run as administrator”.


Step 5
You may need to confirm the UAC by clicking “Yes


Step 6
Once the Command Window appears type “compmgmt.msc” then press “Enter


Step 7
On the left hand pane click on “Device Manager


Step 8
Expand the “Display adapters” then “right click” on your top NVIDIA card, click on “Uninstall device


Step 9
Check the box that reads “Delete the driver software for this device” then click on Uninstall.


Step 10
Now to restart the computer to do this click on the “Start button” then select the “Power button” then click on “Restart

Step 11
Now open a web browser of your choice and in the address bar type “https://s3.amazonaws.com/FalconSupport/388win10.exe” then press “Enter” select “Save“.

Step 12
Now execute the file 388win10.exe (usually located in your downloads folder).

Step 13
Confirm you want to run the program by clicking on “Yes“.

Step 14
Click OK.

Step 15
Agree to the license terms then click “Next“.

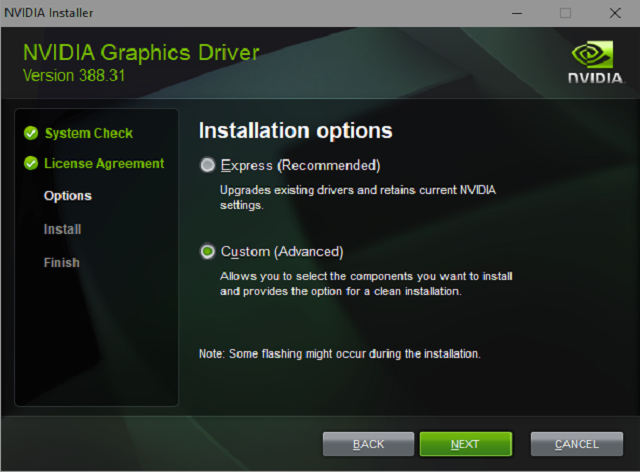
Fill in the radio button beside “Custom” then click “Next“.

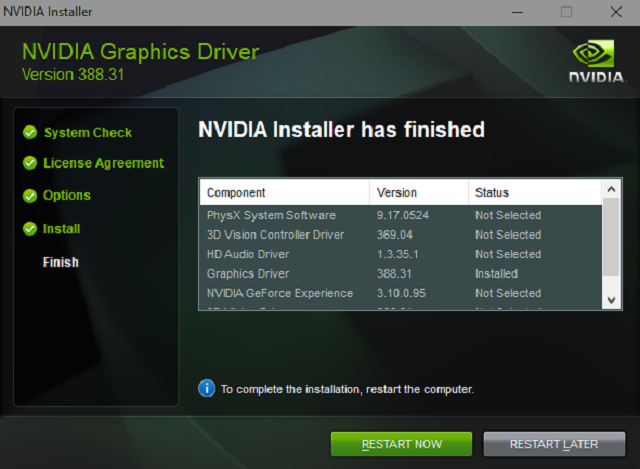
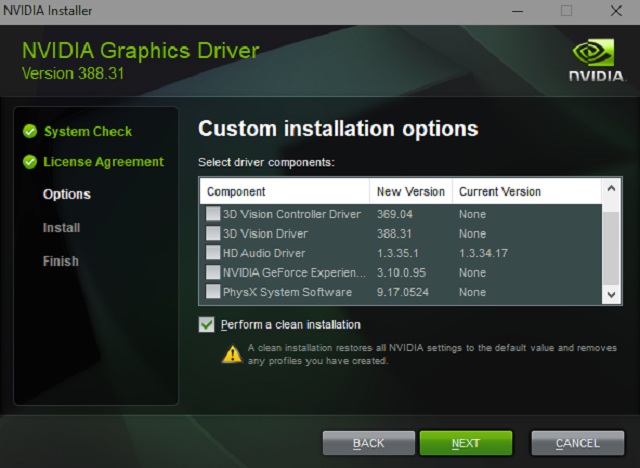
Uncheck the boxes “3D Vision Controller Driver“, “3D Vision Driver“, “HD Audio Driver“, “NVIDIA GeForce Experience“, “PhysX System Software” Check the box that reads “Perform a clean installation” Click “Next“. (This will start the installation of your video card drivers your screens may flash on and off several times this is normal).

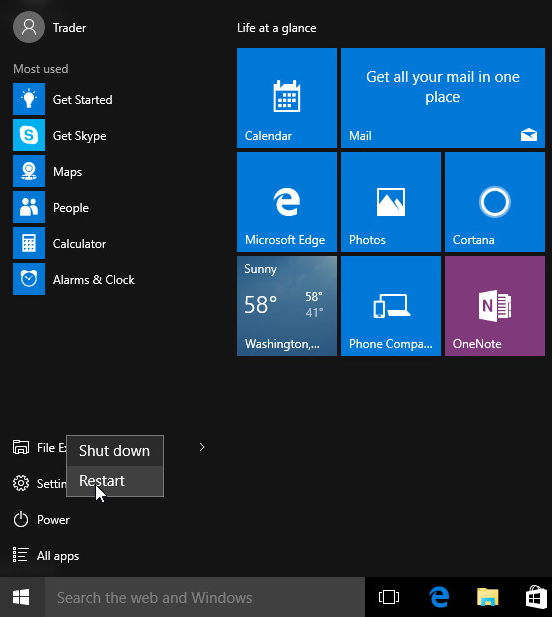
Once that is complete just click on “Restart Now“.


That should be all you need to do if you are still having problem please contact our Falcon Support Team.
Updated on January 9, 2023

Was this article helpful?

Related Articles